Ladies and gentlemen, I present to you, a pretty damn awesome couple, Mr and Mrs Gumbley.
The wedding was incredible. At the ceremony I think I was possibly almost as nervous as the bride herself, waiting for her to come down the aisle, desperately hoping that the dress was as perfect as planned and there were no wardrobe malfunctions. I'm glad to say there weren't! And as she passed down the aisle, I was literally trembling with excitement. She looked absolutely GORGEOUS. I was so proud to have been a part of such an important aspect of her special day, and to make her dream dress come true.
So firstly, yes, it's blue!! She knew exactly what she wanted when she first came to me, which made the whole production extremely easy. She showed me some photos she'd googled, and it soon became apparent she wanted something epicly Victorian-inspired. At which point I got immediately excited!
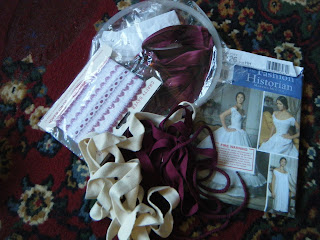
So we looked up some patterns we could use, and settled on two from
Truly Victorian -
TV170 for the petticoat, and
TV361 for the bustle; and one I had in my stash -
Simplicity 5457 - for the apron. The overskirt is just a simple gathered skirt I took from another in my stash -
Simplicity 4092. The corset was made by a professional corset-maker in Christchurch - Abbey at
Forge Fashion, but it didn't quite turn out the way Rebecca initially wanted it so we had to tweak it a bit.
There is SO much to this dress, and before I handed it over, I documented every single layer, hook, and trick so I could show you all.
First up, we have the black cotton underskirt.
Underskirt front view
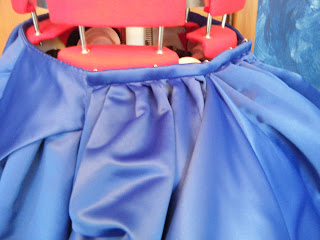
It is gathered at the back for fullness.
Underskirt back view
It has two layers of ruffles to help fill out the skirt, and five pleated tucks all the way around to help with stiffness, helping the skirt not just flop.
Close-up of pleated tucks
Next comes the overskirt, which has a bustle-pad and the apron attached. The main fabric of the dress is a deep cobalt-blue de-lustered satin. It was beautiful to work with.
Underskirt with attached apron
The skirt itself closes with hooks and the back of the apron fastens over the top with domes.
Overskirt fastenings
The bustle-pad is sewn in place on one side:
And attaches with hooks and eyes on the other.
Bustle-pad fastenings
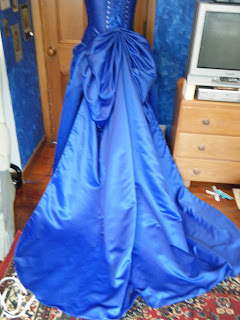
This makes a perfect foundation for the bustle.
Overskirt with bustle-pad and apron
The bustle has hooks attached which simply hook over the back of the skirt/apron combination.
Bustle attachment
The fashioning of the bustle comes later; for now it looks like this:
Un-fashioned bustle
The last thing to go on is the corset. This covers all the fastenings and the bustle hooks and helps hold it all into place.
Now the bustle gets hooked into place. There is a a little ring attached to the back of the corset:
To which a hook on the bustle can be attached, so it looks like this:
The bustle can also be hooked up so it stays off the ground. There are little rings attached to the base of the bustle-pad, to which hooks on the inside of the train can be fastened.
It ends up looking like this. (Which personally is my favourite look!)
One last requirement Rebecca had was that the skirt itself could also be hooked up to free up her legs so her and Luke could perform a dance that they had arranged. (Which was also EPIC, by the way).
So, there were little rings attached to the inside of each side of the corset:
And hooks on the inside of the overskirt and the outside of the petticoat:
So they too could also be hooked up and out of the way.
Resulting in a much easier ensemble to dance in, and a freaking awesome visual if you ask me:
Here it is in action:
Photo courtesy of Penny Pender
Lastly, here is a view of the front of the dress in all it's full glory, just for good measure.
And lastly lastly, a pic of me with my bride and bridesmaids. The bridesmaids' dresses are made of royal blue satin with cream lace overlaid over it. The girls picked their own patterns -
Simplicity 2362 and
Burda 7983, but I removed the rouching on both, as the lace already provided enough detail.
I'm not too happy with how the bodice of my own dress turned out, however - it really needed some interfacing. But I learnt from that and will know for next time...
So there you have it, folks! The much awaited Epic Bridal Gown. I am VERY stoked with it. :)


